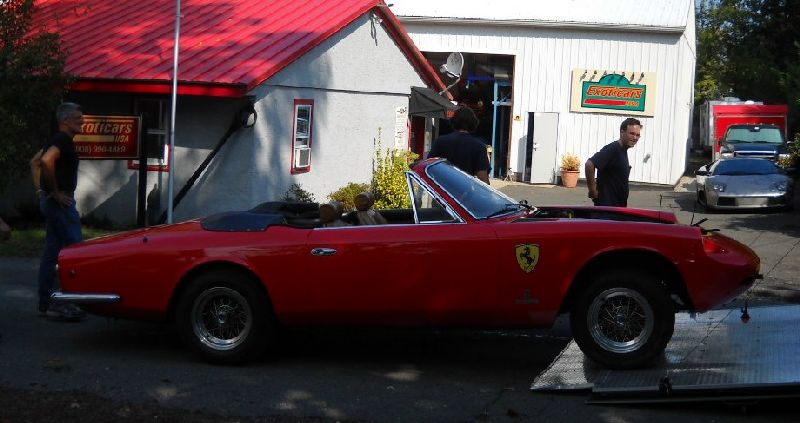

Refinishing the cowl panel on a Ferrari Daytona
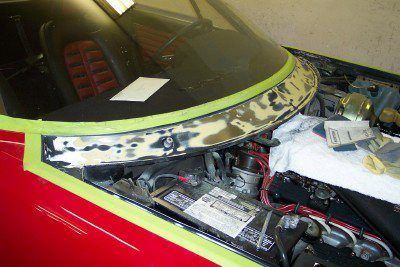
The cowl panel on this Ferrari Daytona detracts from an otherwise clean vehicle. The area between the windshield and the engine bay has suffered several amateur spray can touch-ups and looks rather shabby.
After removing the windshield wipers and washer nozzles I applied masking tape to protect the brightwork around the windshield and also the painted surfaces of the fenders. I definitely do not want to be painting body color or trying to buff sand scratches out of the trim.
The older Italian cars often have some kind of seam sealer applied to fill the gap between windshield moldings and the adjacent body panels. I needed to carefully cut and scrape to remove what appeared to be black silicone. Now I’m ready to start sanding but first I cleaned the whole area with wax and grease remover. That done, I sanded off several layers of flat black paint. The area was too small to use air-powered sanders so I just worked by hand. Starting with 100 grit and finishing with 220, I ended up removing almost all the existing paint and primer. I should mention that I dry-sanded in an effort to reduce the potential for making a mess in an otherwise tidy engine compartment.
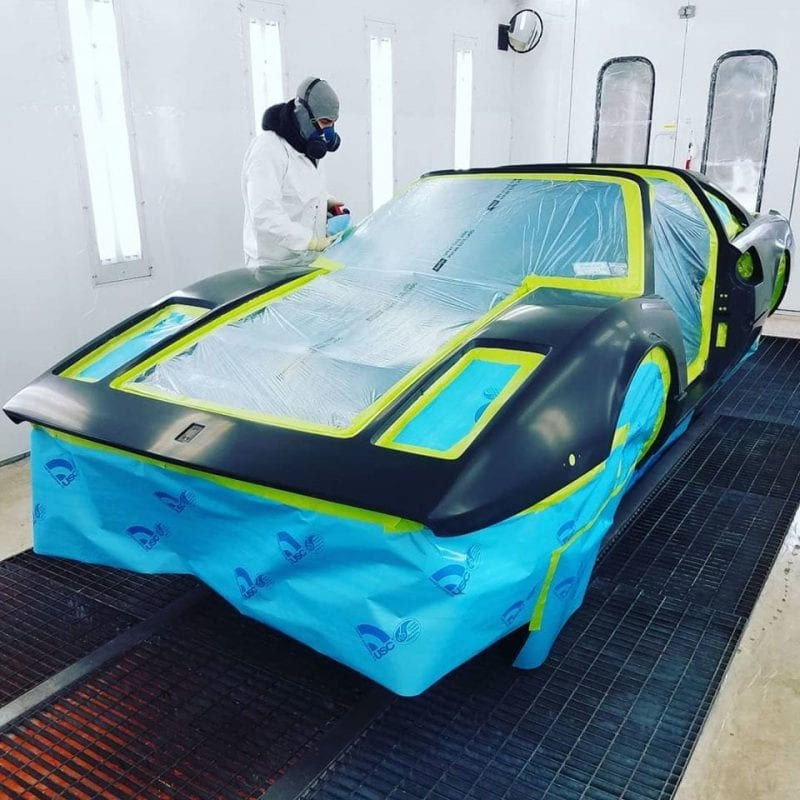
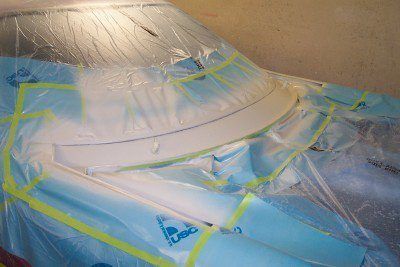
Satisfied that I had a good surface to accept primer, I chemically cleaned the area again before masking-off the engine bay, fenders and windshield. The whole car has to be covered to prevent overspray. (Not like in the bad-old days of lacquer primer, that stuff was practically dry as soon as it came out of the gun.)
After a third cleaning, I applied two coats of high-build primer/surfacer. Tomorrow I’ll sand the primer and prepare for paint.